How to Clone a Mint Plant - A Step-by-Step Guide
- Home
- Hydroponic Plants
- Cloning
- Mint

Easy Instructions on How to Clone a Mint Plant
Cloning plants is a great way to propagate them. When you clone plants, you preserve their genetics, so if you have had a particularly successful harvest, or if you have a favourite variety of mint, then propagating that plant is a great idea. Whereas if you grow new plants from seeds from your plants' vegetables or fruit, this leads to genetic variation, and there's no guarantee the next generation of plants will have the same desired traits. In this guide, I'll cover everything you need to know about cloning mint plants.
One thing to keep in mind when cloning plants is that you should only take cuttings from healthy strong plants. Also, you should take a few more cuttings than required because sometimes not all of the cuttings survive.
How to Clone a Mint Plant
Equipment You'll Need
- Razor blade or scissors
- Cup
- pH balanced, distilled water, or filtered drinking water
- Rooting hormone (gel or liquid is more effective than powder)
- A small plastic cup for rooting hormone
- Rubbing alcohol
Instructions
- Fill the cup halfway with filtered drinking water. You can also use distilled or pH balanced water.
- Choose a healthy parent plant to take cuttings from. Don't take cuttings from diseased or wilting plants. The parent plant should have good, green growth and be large enough to take cuttings from.
- The best time to take cuttings from mint plants is late spring or early summer once the plants grow taller, but before they start flowering.
- You'll need to take cuttings that are 3-5 inches (7.5-12.5 cm) long so that there is plenty of space on the stem for the roots to grow. Longer cuttings are easier to propagate than shorter ones, but there is no need to take really long cuttings, since 3-5 inches (7.5-12.5 cm) is enough.
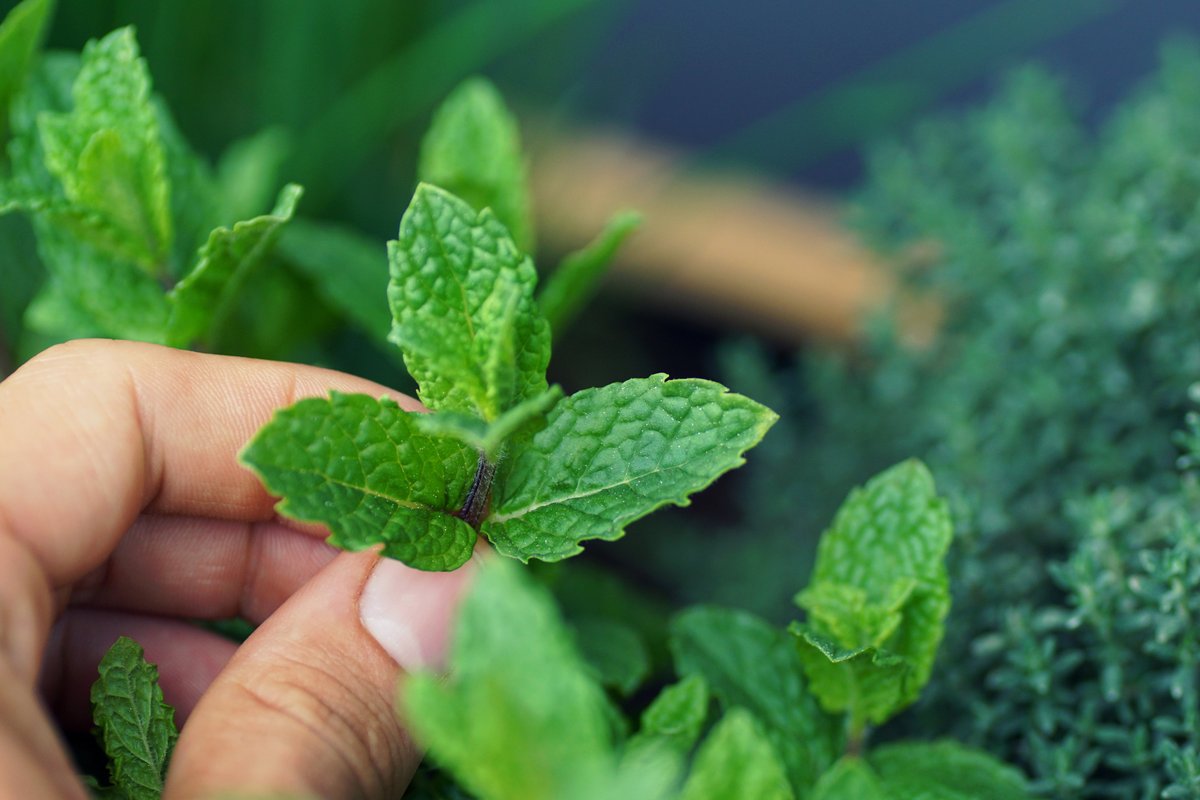
- Sterilise your razor blade or scissors with rubbing alcohol and make a clean cut just below a node. Leave 2-3 nodes on the branch above the cut. Make sure to make the cut at an angle. This will help allow the cutting to root faster. Remove the lower leaves so that there is at least 2 inches (5 cm) of bare stem and only leave some leaves at the top to help the cuttings direct their energy towards producing roots.
- Now you need to dip the cutting into the rooting hormone. Gel or liquid rooting hormone is more effective than powder. This step is optional, but rooting hormone can help promote root growth, and I would recommend doing it. Dip the node end of the cutting into the rooting hormone. Tap off any excess hormone. Too much can hinder the chances for successful rooting.
- Put the cutting into the cup with water and make sure at least one node is submerged.
- Keep the cuttings in a bright room with indirect sunlight. Mint cuttings don't need too much sunlight or powerful grow lights because this can cause more leafy growth or even burn the leaves.
- The cuttings will drink water and some of it will evaporate, so you'll need to replace it every week or as required. If you just top it off, this can cause algae and mould, so make sure to replace the water.
- Cuttings should develop roots in 3-4 weeks. Allow them to grow to at least 2-3 inches (5-7.5 cm) before moving them to a growing medium and putting them into your hydroponic system.
One email a month from me, Charlie. What is new on the site, one grower’s question answered properly, and the latest video. No spam, no selling.


I’m Charlie, co-founder of Everything Hydroponics. I’ve completed an official qualification in hydroponic cultivation, I run the Everything Hydroponics YouTube channel, and I’ve advised and taught many new and existing growers. I’m a teacher at heart, so what you read here is backed up by peer reviewed research and presented in a digestible way. Most of my growing time now goes on chillies. More about Charlie
You might like these
Hydroponic Leafy Greens: A Step By Step Guide To Growing Lettuce
Leafy greens are the quickest way into hydroponics. What counts as one, and a step by step guide to growing lettuce from choosing seed to harvest.
Hydroponic Microgreens: How To Grow A Tray At Home
Microgreens are seedlings cut before their first true leaves, and they germinate in four or five days. What to sow, how to light them, and when to harvest.