How to Clone a Plant - A General Guide
- Home
- Hydroponic Plants
- Cloning
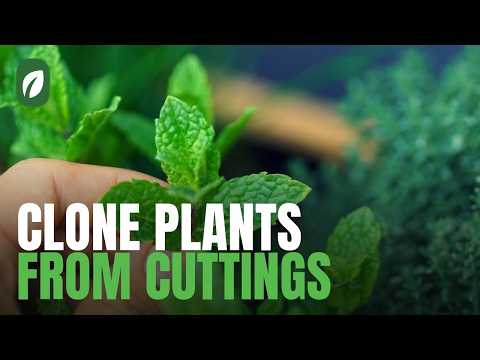
Everything you Need to Know When Considering How to Clone a Plant
Taking cuttings from plants is a great way to propagate them. It is also called cloning. In this guide I'll cover everything you need to know about how to clone a plant.
Taking plant cuttings is one of the most satisfying parts of growing. From one plant you can create numerous others and watch them grow, and grow their own baby plants too. It works just as well with house plants as it does with plants for hydroponics. When you propagate plants this way, the plants have often done a lot of the growing work, and the new plants grow much quicker than from seed. One thing to keep in mind when cloning plants is that you should only take cuttings from healthy strong plants. Also, you should take a few more cuttings than required because sometimes not all of the cuttings survive. With that said, let's take a closer look at how to clone a plant.
Equipment Needed for Creating Cuttings
- Razor blade or scissors
- Seed tray with clear lid
- Growing medium, such as rapid rooters, rockwool, oasis, or coco coir
- Pencil or stick
- Rooting hormone (gel or liquid is more effective than powder)
- pH balanced or distilled water
- Water spray bottle
- 2 small plastic cups
- Rubbing alcohol
Instructions
- Choose a healthy parent plant to take cuttings from. Don't take cuttings from diseased or wilting plants. The parent plant should have good, green growth and be large enough to take cuttings from.
- Pick a growing medium.
- Soak the growing medium in pH balanced water. Distilled water works too.
- Put the growing medium into a seed tray slot and make a hole in it with the pencil or stick.
- Now you'll need to find suitable stems for cutting. They should be green and non-woody. Newer growth is easier to root than older or woody stems. Find a stem with a node, a bump along the stem where a leaf or a flower bud attaches. New roots will emerge from it.
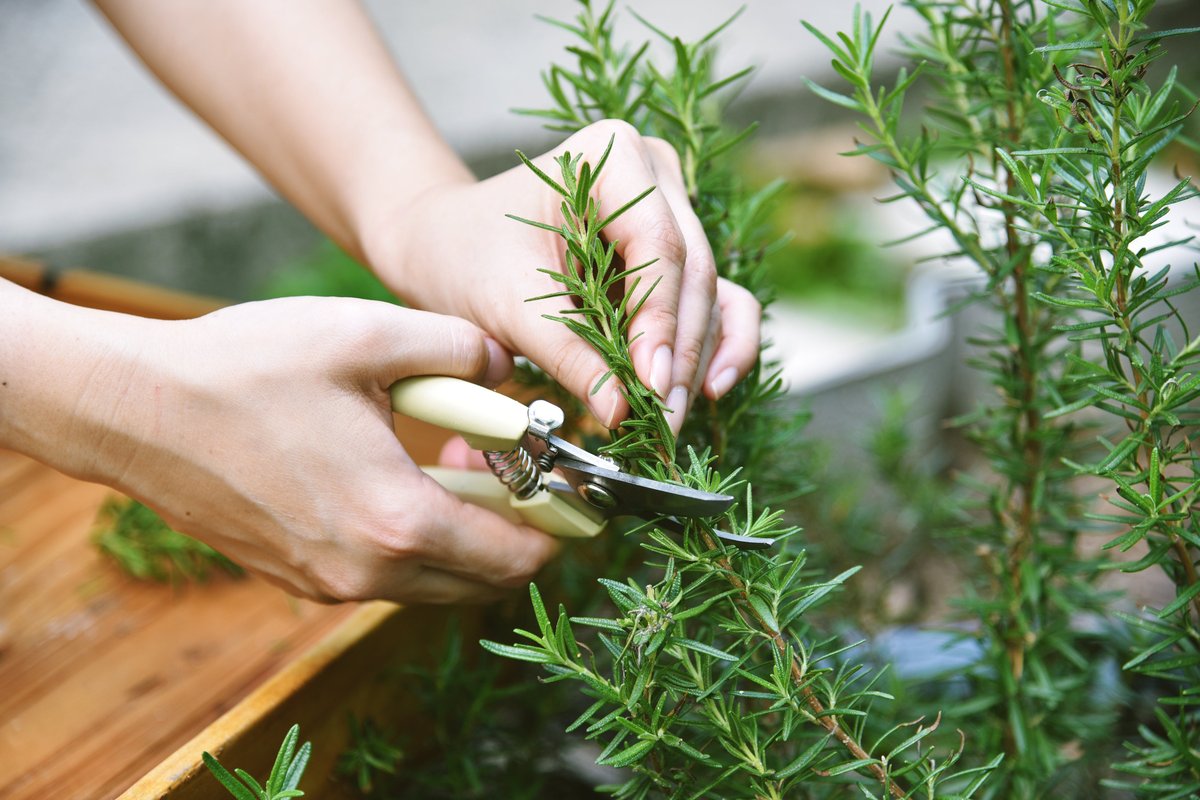
- Sterilise your razor blade or scissors with rubbing alcohol and make a clean cut just below the node. The cutting doesn't need to be long, 4-6 inches (10-15 cm) is enough, but it should have at least 2 leaves and 1 node.
- Once you've taken the cutting, you need to make a partial slice through the middle of the node with a sterilised razor blade. This will increase the chances of roots emerging from this spot. If your cutting has more than 1 or 2 leaves, cut them off. The cutting only needs 1-2 leaves to continue photosynthesis. Having too many leaves will consume energy that would otherwise go to root creation. If the leaves are very large in relation to the stem, you can cut off the top halves of the leaves too.
- Now you need to dip the cutting into the rooting hormone. Gel or liquid rooting hormone is more effective than powder. This step is optional, but rooting hormone can help promote root growth, and I would recommend doing it. Fill one plastic cup with water and place some rooting hormone into the other one. Dip the node end of the cutting into the water and then into the rooting hormone. Tap off any excess hormone. Too much can hinder the chances for successful rooting.
- Carefully place the cutting into the hole you made in the growing medium. Don't push it down to the bottom of the seed tray because it needs to have room for its roots to grow. Do ensure that the part where you made the cuts below the leaf internodes is under the surface of the growing medium.
- Gently put more growing medium at the top around the cutting to keep it upright and in place. Cover the seed tray with the clear lid. Keep the lid on the whole time the cuttings are rooting.
- You need to keep the cutting alive as best as you can so that it can take root. You will need to mist the cuttings to keep them humid 2-3 times a day. Put the lid back after misting the cuttings to keep the moisture in. Cuttings need to be kept at a temperature of 72-80°F (22-26°C). If they're too cold, they won't grow. The cuttings will also need good access to light. You may need grow lights indoors. It's best to water them with distilled water, and you could add a mild fertiliser. They should be watered every couple of days, and you shouldn't let the growing medium dry out.
- After a week you can check if your plants have rooted. If they haven't wilted, then they likely have enough roots to support themselves. Once they have roots, you no longer need to keep misting them. When they're properly rooted, you can put them into your hydroponic system.
One email a month from me, Charlie. What is new on the site, one grower’s question answered properly, and the latest video. No spam, no selling.


I’m Charlie, co-founder of Everything Hydroponics. I’ve completed an official qualification in hydroponic cultivation, I run the Everything Hydroponics YouTube channel, and I’ve advised and taught many new and existing growers. I’m a teacher at heart, so what you read here is backed up by peer reviewed research and presented in a digestible way. Most of my growing time now goes on chillies. More about Charlie
You might like these
Hydroponic Leafy Greens: A Step By Step Guide To Growing Lettuce
Leafy greens are the quickest way into hydroponics. What counts as one, and a step by step guide to growing lettuce from choosing seed to harvest.
Hydroponic Microgreens: How To Grow A Tray At Home
Microgreens are seedlings cut before their first true leaves, and they germinate in four or five days. What to sow, how to light them, and when to harvest.